Description
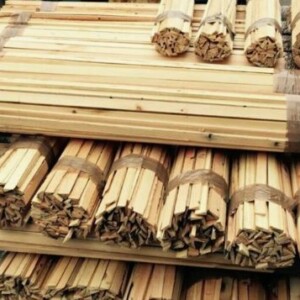
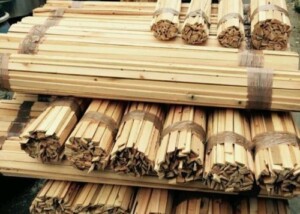
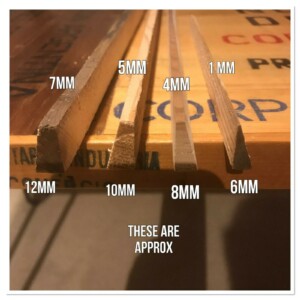
Highest quality Pine Slivers for all gaps up to 12mm.
Please note 10mm and 12mm slivers are a bespoke order and can take an additional few days to make – so delivery may be longer than anticipated. *As per the picture shown in the listing the 10/12mm sliver nose is approx. 4mm – 7mm. It is not a point – it is more of a stump/wedge*.
Fill gaps between floorboards with easy-to-fit ‘Old Pine Slivers’ to give your floor that professional finish! “Slivering” quickly and easily fills those unsightly gaps in between wooden boards with wedges of old reclaimed timber. The Old Pine Sliver is made from genuine old reclaimed floorboards, reclaimed joists and other reclaimed timber items. Colours may vary from Light to Dark – colour cannot be guaranteed. Use the Old Pine Sliver to give your floor that professional finish. Slivering fills the gaps in between wooden boards with wedges made of old reclaimed wood. Nail holes and knots may commonly be visible in the slivers – this is not unusual and these do not affect use. These slivers will not be perfect as they are made from genuine reclaimed timber.
- Seals better
- Stops draughts – no cold air through gaps
- Stops odours
- Tightens floors up, keeping it solid
- No visible edges
- Gives a lasting and satisfying finish to your floor
Simple to use:
1) Apply wood adhesive on both sides of a sliver (glue not included).
2) Place the sliver in a gap and hammer it in.
3) Cut the excess once the glue is dry.
4) Your floor is now ready for sanding and finishing. We have been trading over 30 years and have fantastic feedback – don’t accept second rate imitations